Installing a privacy fence is a popular home improvement project. Privacy fences not only define your property lines but also increase security, block noise, and add visual appeal. Whether you want to create a backyard oasis or keep pets and children safe, building a fence yourself is a rewarding and cost-effective way to achieve these goals.
With careful planning, proper tools, and the right materials, almost any homeowner can tackle a DIY privacy fence project. This guide covers everything from planning and materials to installation tips, finishing touches, and maintenance advice.
1. Planning Your Privacy Fence
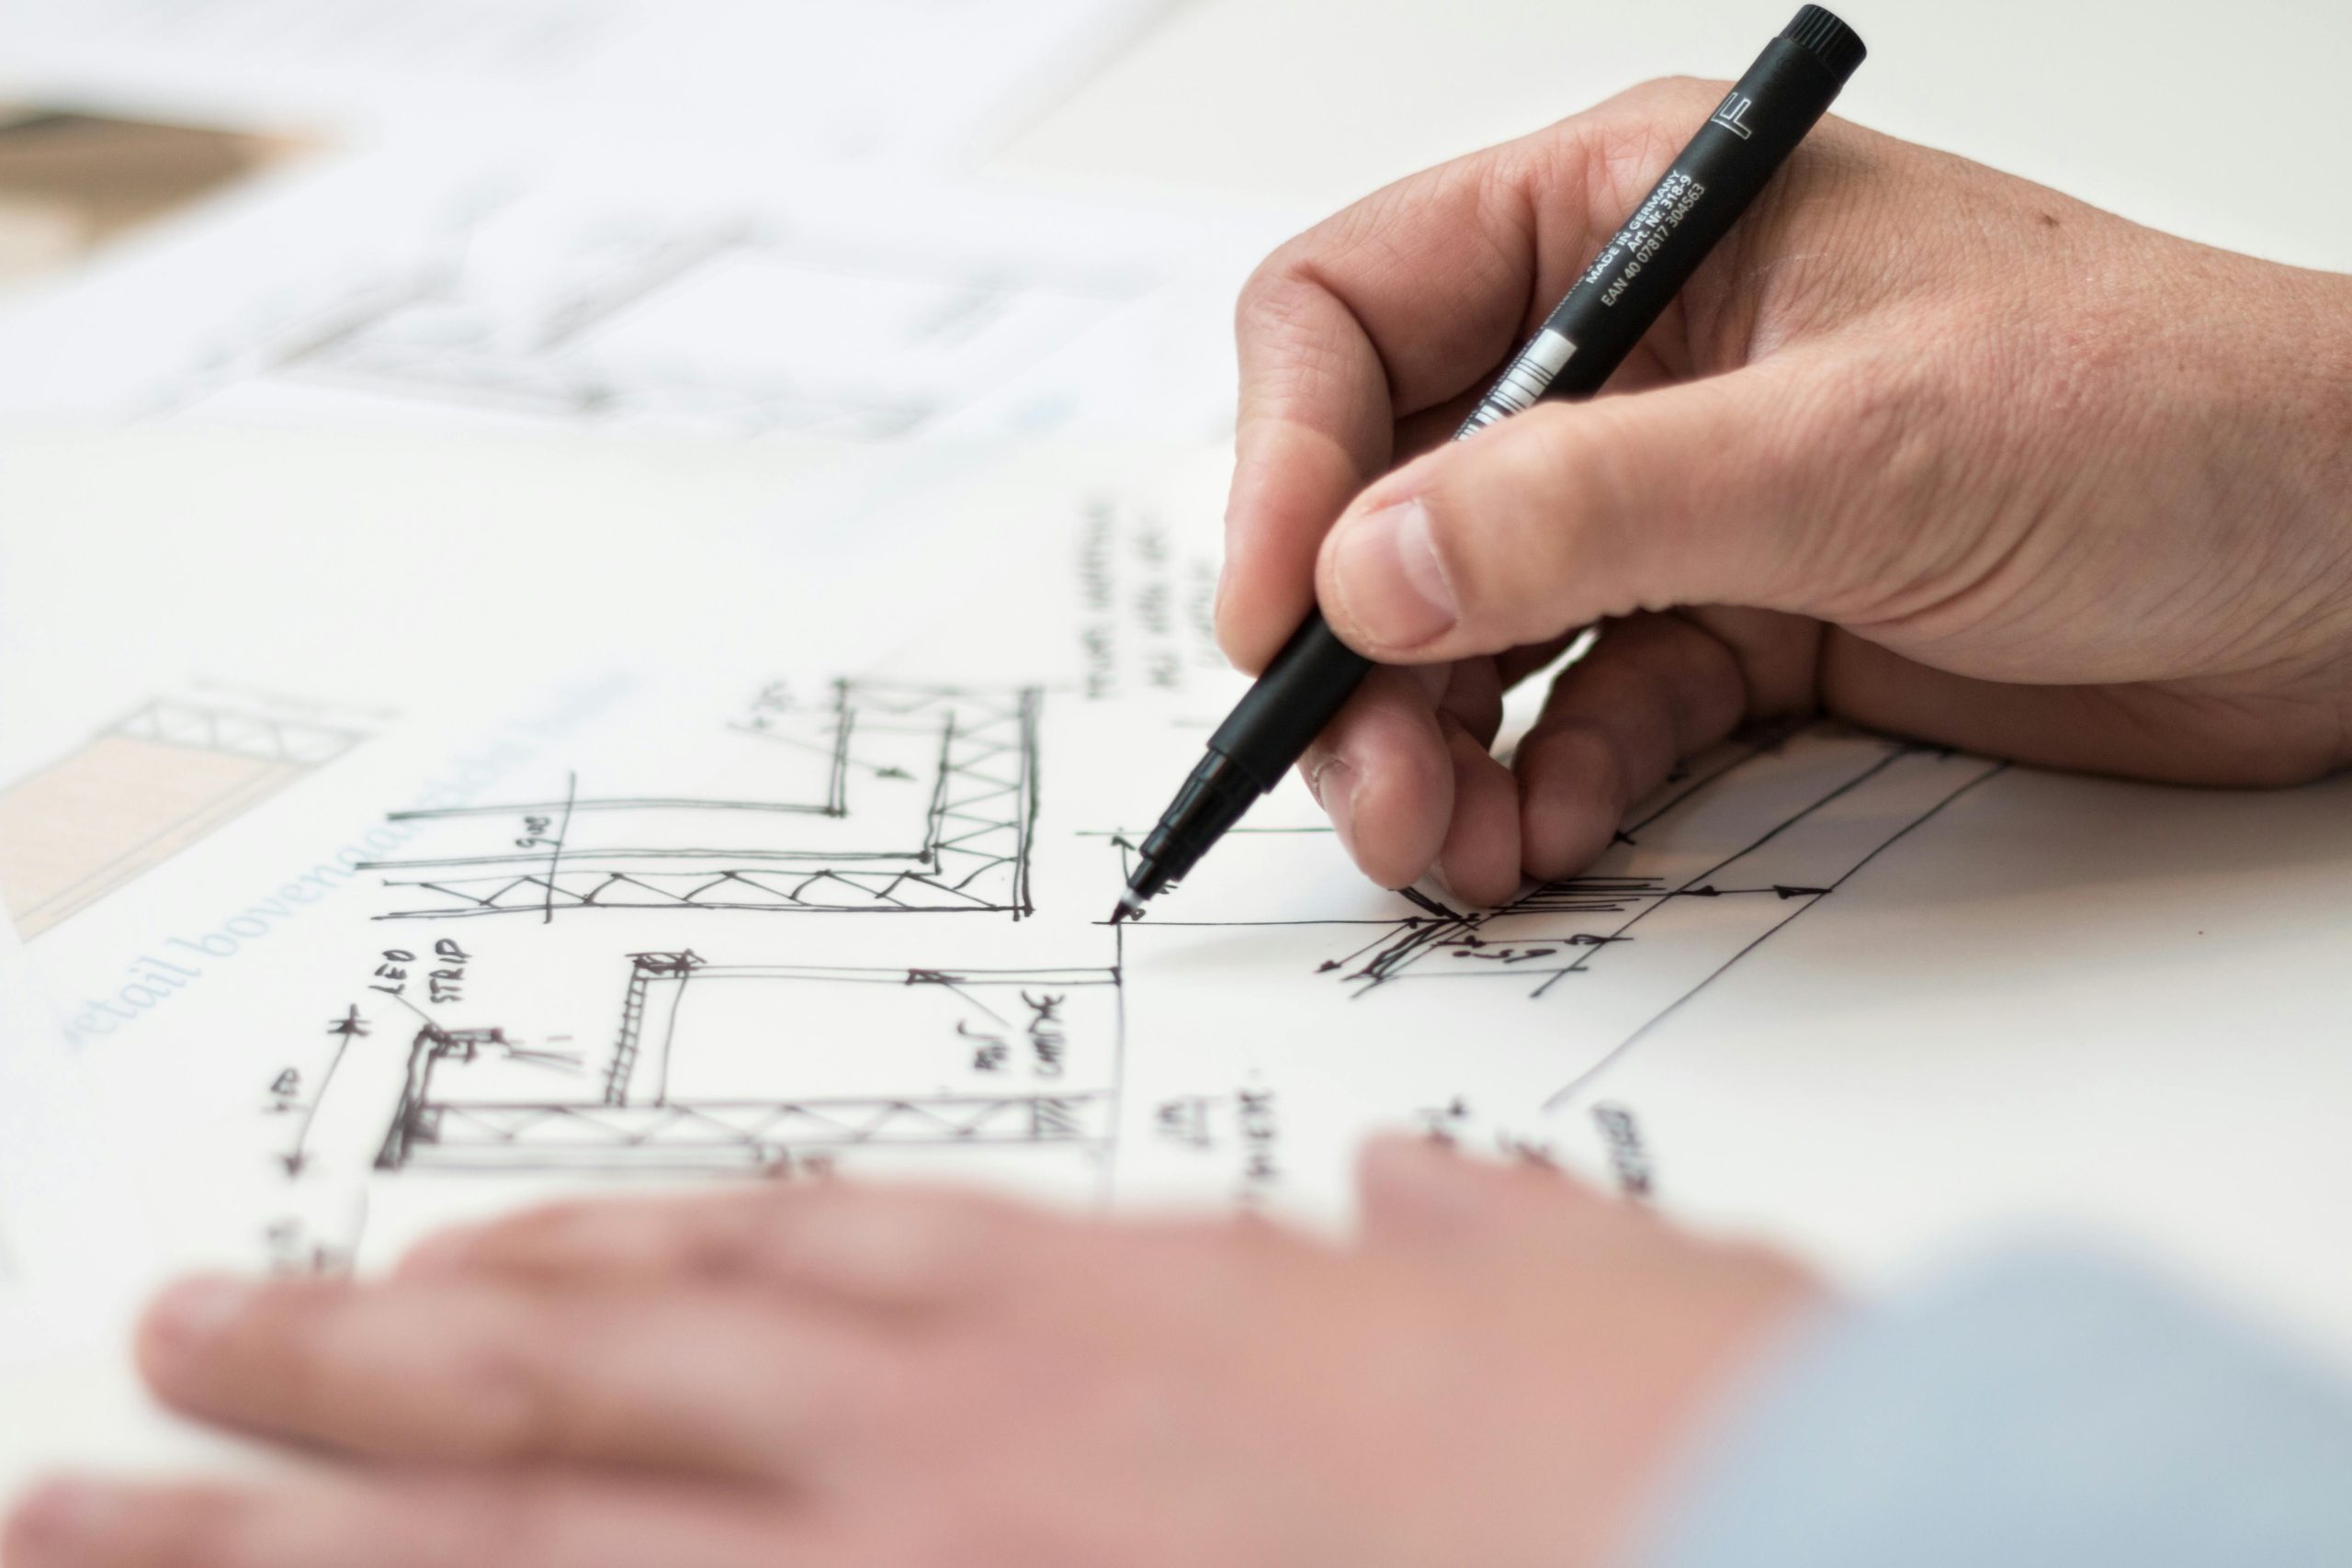
Proper planning is essential before you start digging. A well-planned fence saves time, money, and headaches later.
Determine Your Goals
- Privacy: Do you want to block neighbors’ views?
- Security: Will the fence keep pets or children contained?
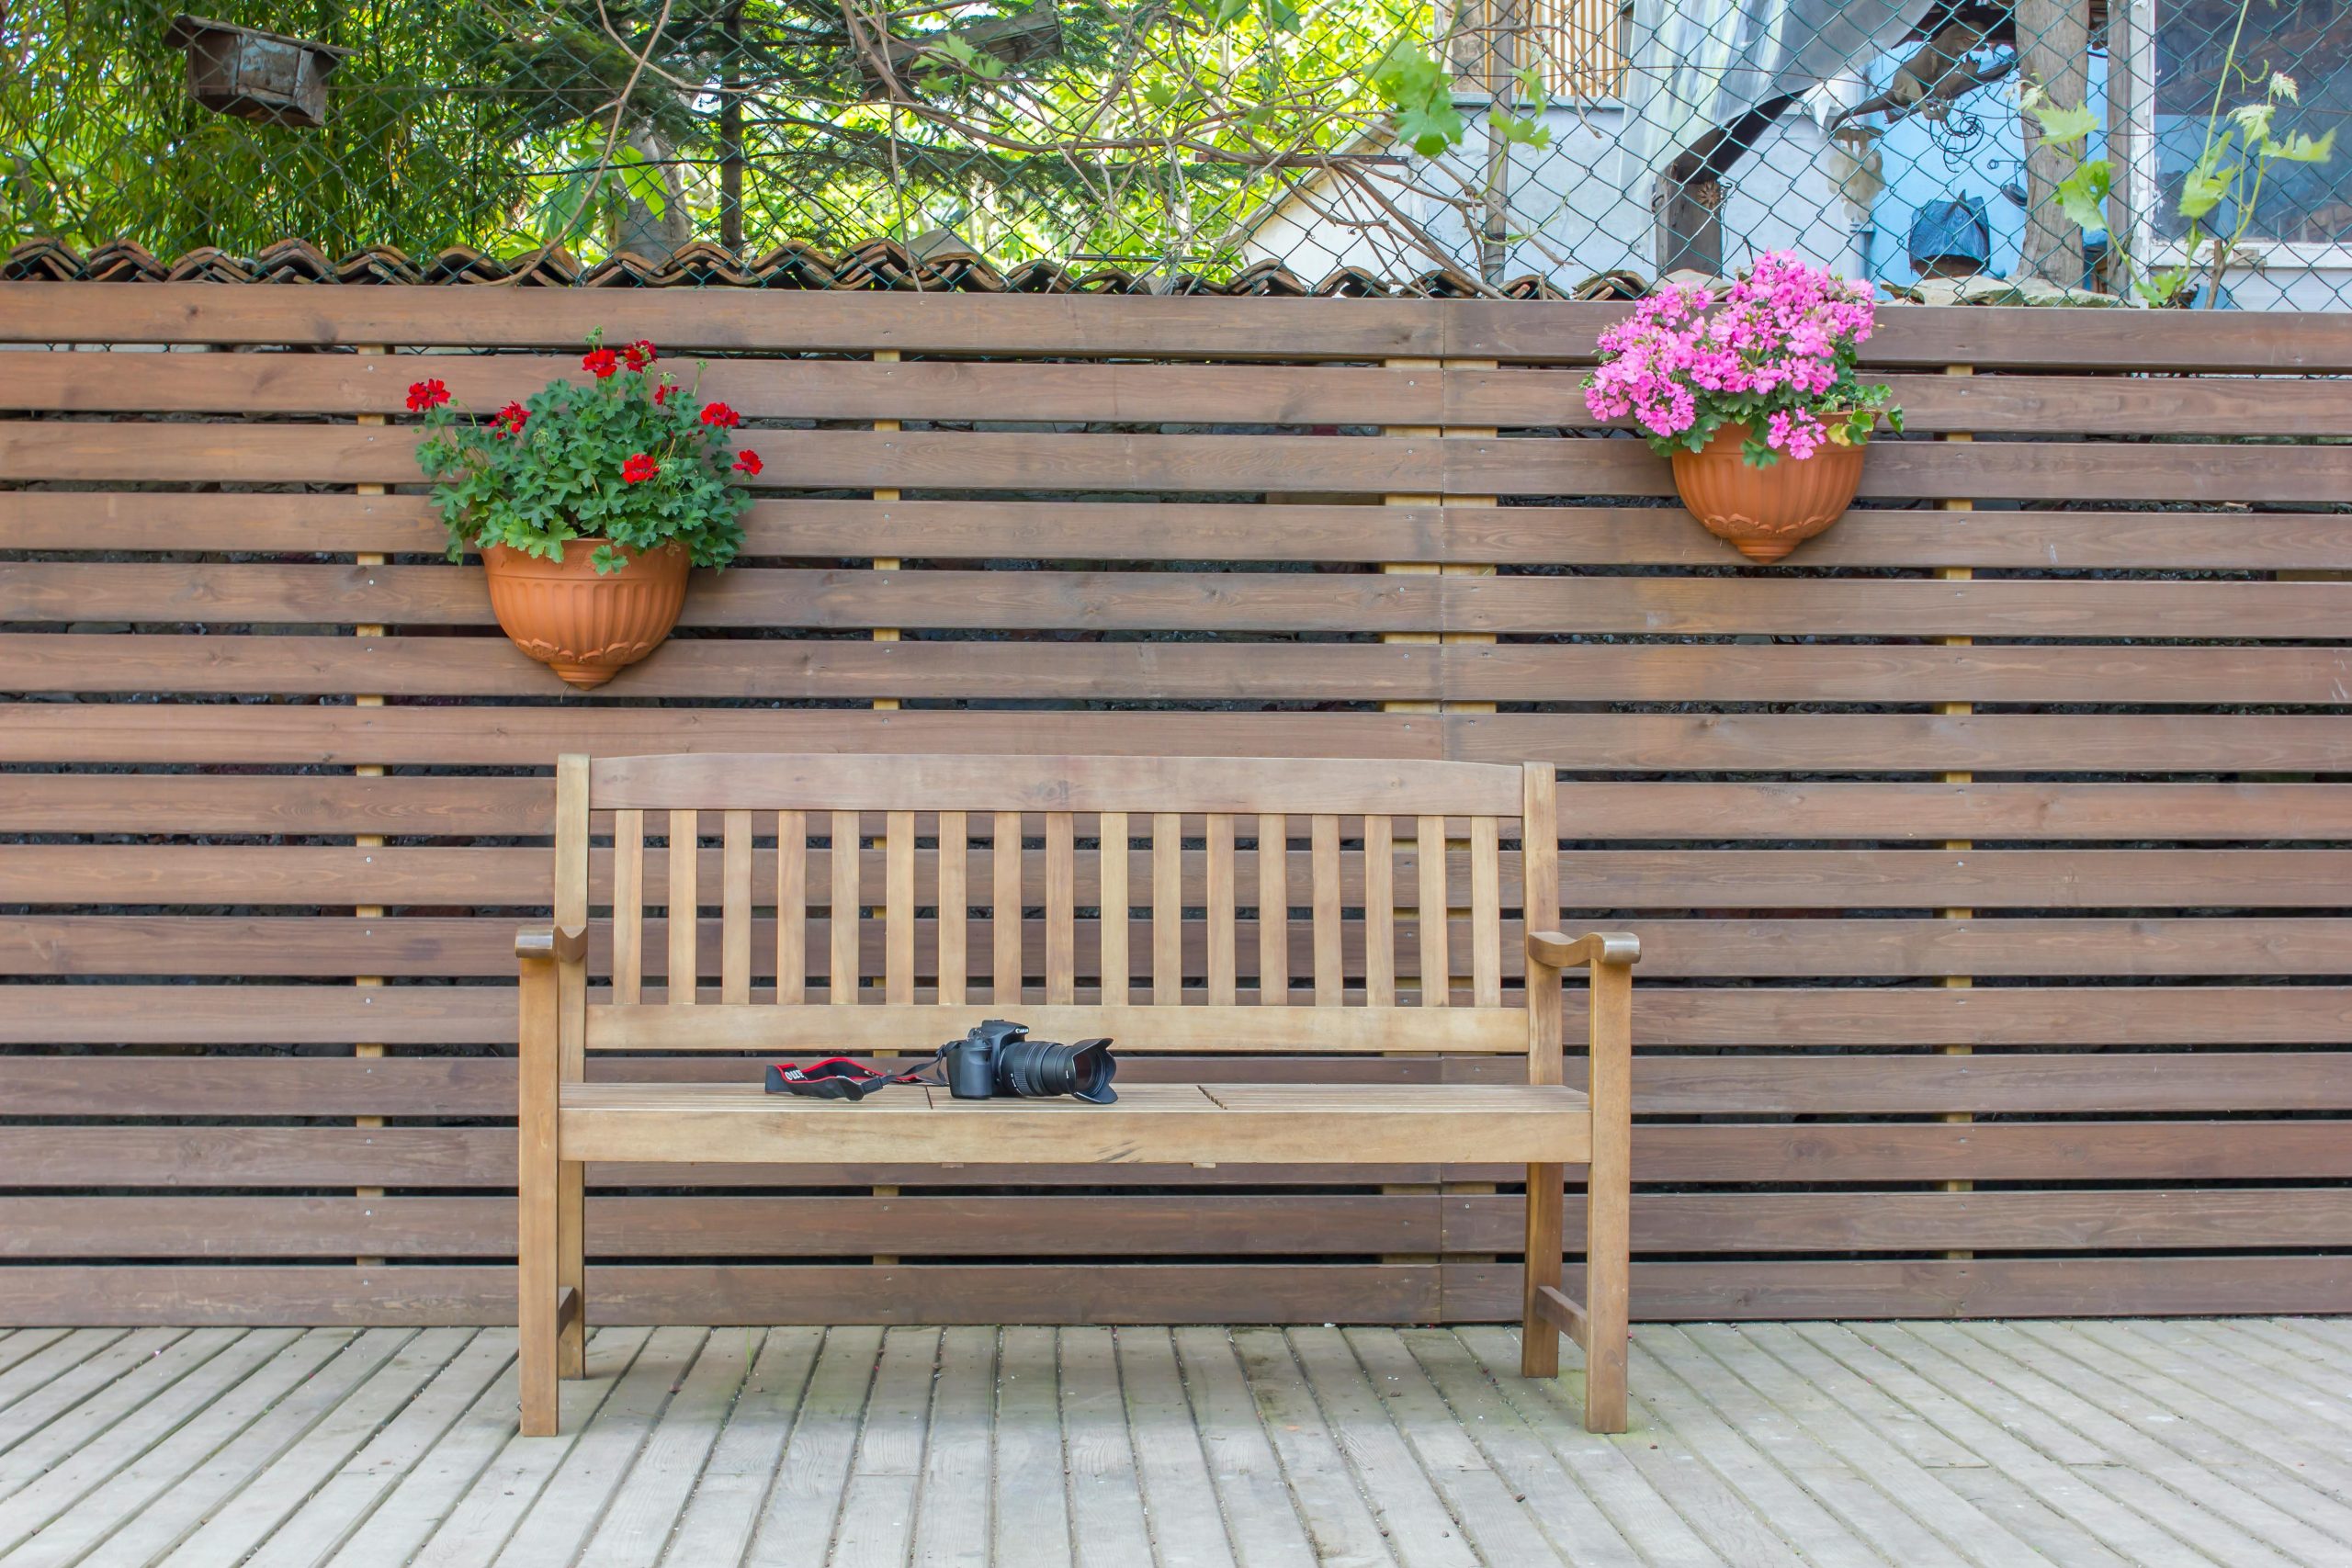
- Aesthetics: Is it meant to complement your home’s exterior?
- Noise Reduction: Will the fence reduce traffic or neighbor noise?
Check Local Regulations
- Confirm height restrictions in your area
- Look for setback requirements from property lines
- Obtain permits if required
- Check HOA rules if applicable
Mark the Layout
- Use stakes and string to mark fence lines
- Consider gates and entry points
- Measure the total perimeter to calculate materials
Planning ahead ensures your fence is functional, legal, and visually appealing.
2. Choosing Materials for a Privacy Fence
Selecting the right materials affects durability, maintenance, and cost.
Popular Fence Materials
- Wood: Affordable, customizable, and classic; cedar or redwood resists rot
- Vinyl: Low maintenance, long-lasting, available in multiple colors
- Composite: Durable, weather-resistant, eco-friendly
- Metal (Aluminum or Chain Link with Panels): Modern, strong, low maintenance
Tips for Material Selection
- Consider climate: Wood may require sealing in wet regions
- Factor in maintenance: Vinyl and composite need less upkeep
- Match home style: Wood fits traditional homes; metal works well with modern designs
Choosing the right material ensures your privacy fence lasts for decades.
3. Gather Your Tools and Supplies
Having all the tools ready before you start makes the process smoother.
Essential Tools
- Tape measure
- String and stakes
- Level
- Post hole digger or auger
- Circular saw or handsaw
- Hammer or nail gun
- Drill and screws
- Gravel and concrete
Materials Needed
- Fence posts (wood or metal)
- Panels or individual pickets
- Rails or horizontal boards
- Gate hardware (hinges, latches)
- Wood stain or paint (if using wood)
Proper preparation reduces interruptions and ensures a safer installation.
4. Preparing the Site
Site preparation is a crucial step that prevents future fence problems.
Steps for Site Prep
- Remove obstacles: rocks, plants, old fencing
- Level the ground if uneven
- Mark post locations according to desired spacing
- Call local utility companies to check for underground lines
Post Spacing Guidelines
- Wood posts: typically 6–8 feet apart
- Vinyl panels: manufacturer recommendations vary
- Composite: 6–8 feet recommended for stability
A well-prepped site guarantees a straight, stable fence.
5. Installing Fence Posts
Fence posts are the foundation of your privacy fence. Proper installation prevents leaning or sagging.
Steps to Install Posts
- Dig Holes: About 1/3 of the post length should go underground
- Add Gravel: 4–6 inches for drainage
- Set Posts in Concrete: Check vertical alignment with a level
- Allow Concrete to Cure: Usually 24–48 hours for full strength
Tips for Stability
- Use a post level to ensure vertical alignment
- For sloped yards, step posts gradually to maintain a straight appearance
- Use pressure-treated posts for long-term durability
Strong posts are essential for a sturdy privacy fence.
6. Attaching Rails and Panels
Once posts are set, it’s time to attach horizontal rails and fence panels.
Installing Rails
- Place rails 1/3 and 2/3 up the post for support
- Use galvanized screws to prevent rust
- Ensure rails are level to avoid leaning panels
Attaching Panels
- Measure panel spacing carefully
- Secure panels to rails using screws or nails
- For picket fences, maintain consistent gaps between boards
- Adjust panels for slope or uneven terrain
Proper alignment ensures your fence looks professional and functions correctly.
7. Adding Gates
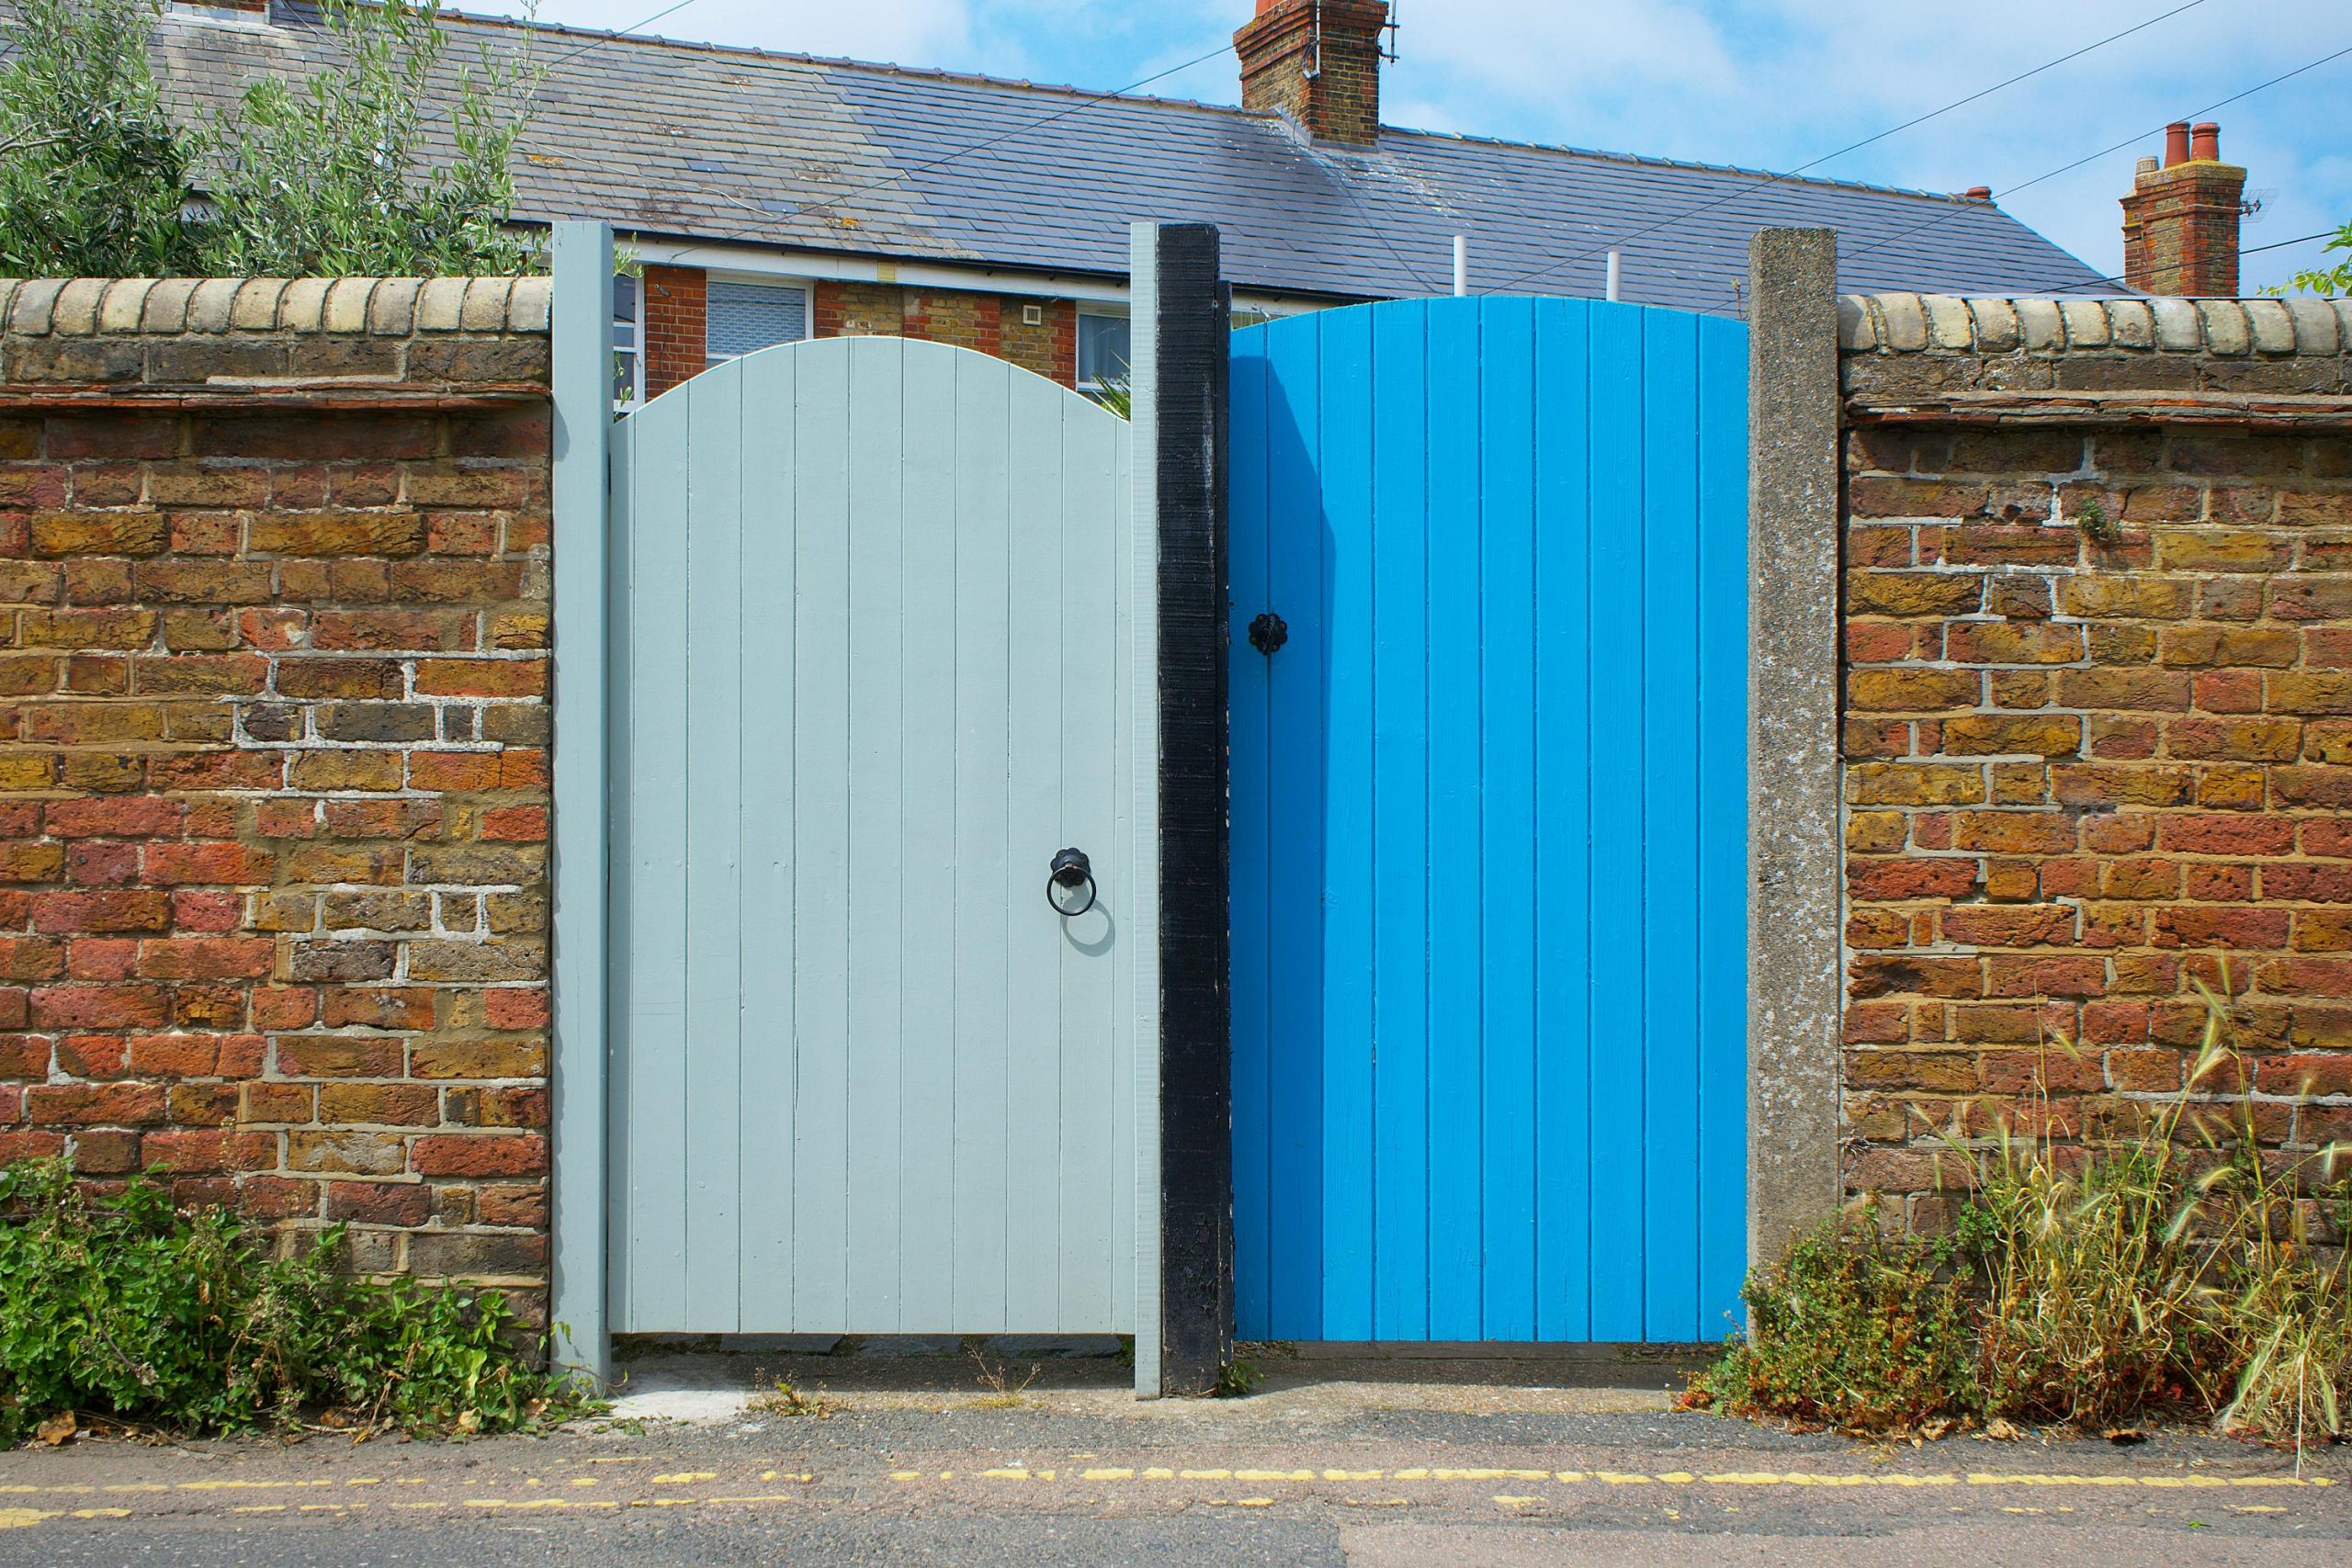
Gates provide access and should be sturdy enough to handle frequent use.
Gate Installation Tips
- Use heavy-duty hinges for stability
- Check swing direction and space for clearance
- Install latches at a comfortable height
- Ensure gates align with the rest of the fence
A well-installed gate complements your privacy fence and maintains security.
8. Finishing Touches
Finishing touches protect your fence and enhance its appearance.
Wood Fence Finishing
- Apply a stain or sealant to resist moisture
- Paint for a custom look if desired
- Consider caps on posts to prevent water damage
Vinyl or Composite Fence
- Wash panels with soap and water
- Inspect for manufacturing defects
Maintenance Tips
- Trim vegetation near the fence
- Inspect annually for loose screws or damaged panels
- Reapply stain or sealant every 2–3 years for wood fences
Finishing ensures your privacy fence remains beautiful and functional for years.
9. Cost-Saving Tips for a DIY Privacy Fence
Building your own privacy fence is one of the most effective ways to save money while adding style and security to your yard. With the right approach, you can achieve a professional-looking fence without overspending on materials or labor.
Affordable Ideas:
- Build panels yourself: Instead of purchasing pre-made panels, constructing them yourself allows for greater control over costs and dimensions.
- Use reclaimed or recycled wood: Old pallets, barn wood, or leftover lumber can give your fence a charming rustic look while reducing expenses.
- Limit fence height: Taller fences require more materials and support. Choosing the minimum height needed for privacy can save both wood and labor.
- Stain instead of paint: Staining protects wood longer and often requires less maintenance than painting, reducing long-term costs.
- Mix materials creatively: Combining wood posts with vinyl panels or other budget-friendly materials can create a stylish and cost-effective design.
DIY Advantages:
- Save labor costs: By taking on the installation yourself, you eliminate expensive contractor fees.
- Customize to your style: DIY construction allows you to adapt the design, color, and layout to your personal taste and property needs.
- Satisfaction and skill-building: Completing the project yourself provides a sense of accomplishment and builds valuable home improvement skills.
With careful planning, a DIY privacy fence can be both beautiful and affordable. By leveraging these tips, you can create a durable, stylish barrier without breaking your budget.
10. Safety Considerations
Building a privacy fence involves digging post holes, lifting heavy panels, and using various tools—both manual and powered. Prioritizing safety is essential to prevent injuries and ensure your project goes smoothly from start to finish. Even experienced DIYers should take precautions, as accidents with tools or materials can lead to serious harm.
Key Safety Tips:
- Wear protective gear: Gloves protect your hands from splinters and sharp edges, while safety glasses shield your eyes from dust, debris, and accidental contact with tools.
- Keep the area clear: Ensure children, pets, and bystanders stay away from the construction zone to prevent accidents.
- Use proper lifting techniques: Heavy posts or panels should be lifted with your legs, not your back, and consider getting assistance for larger pieces.
- Handle power tools carefully: Follow all safety instructions, check cords and batteries, and keep tools away from wet or unstable surfaces.
- Follow manufacturer instructions: Properly install fasteners and materials according to guidelines to maintain structural integrity and safety.
By taking these precautions, you can reduce the risk of injury and create a safer work environment while building your fence.
11. Common Mistakes to Avoid
Avoiding common mistakes ensures your fence lasts and looks great.
Mistakes to Avoid
- Not checking local codes
- Failing to call utility companies
- Poorly aligned posts or panels
- Skipping concrete for post holes
- Using untreated wood for outdoor exposure
Avoiding these mistakes ensures a durable and attractive fence.
12. Benefits of a Privacy Fence
A well-built privacy fence is more than just a boundary; it can transform your outdoor space while providing practical advantages. Whether you want to increase security, reduce noise, or create a private retreat, a privacy fence delivers both functionality and aesthetic appeal.
Key Benefits:
- Enhances security: Privacy fences help deter intruders and keep children or pets safely contained within your property.
- Noise reduction: Solid panels can block or soften street and neighbor noise, creating a calmer outdoor environment.
- Boosts curb appeal and property value: A visually appealing fence adds structure and style to your yard, which can increase overall home value.
- Creates an outdoor retreat: With the right design, a privacy fence can define spaces for relaxation, outdoor dining, or entertaining guests.
- Offers seclusion: Gardening, barbecuing, or simply enjoying your yard becomes more enjoyable without prying eyes from neighbors or passersby.
Privacy fences are both functional and decorative, making them a smart investment for homeowners looking to enhance their property while maintaining a sense of comfort and security.
Final Thoughts
Building a privacy fence is a manageable and rewarding DIY project. With careful planning, the right materials, and proper installation techniques, you can create a functional, stylish fence that enhances your property’s value and privacy. Remember to check local regulations, use durable materials, and take safety precautions during construction. A DIY privacy fence not only saves money but also gives you the satisfaction of creating something long-lasting for your home.
Whether your goal is privacy, security, or improved aesthetics, following these steps ensures your fence will stand the test of time while complementing your home’s design. Start with planning, gather your tools, and take it step by step—you’ll be proud of the results for years to come.